Friday, January 25, 2013

Same layout : different look

 These two pages, made during class with me, follow the same basic layout but see how different they look. One can use the same layout for different themes of photos, but by just changing the choice of colours and embellishments they look completely different.


Page made by Yola Redmond


Page made by Venessa Mayhew

Monday, January 21, 2013

Photo cards

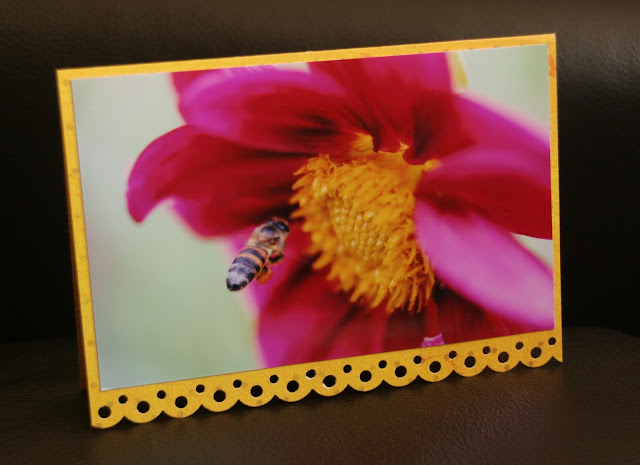
I made this greeting card from one of my left over photos. 
This is a great way to use up those photographs that never got onto the page. 
Fold a card from left over card stock, punch a border and add you photo. Done in a jiffy!


Thursday, January 10, 2013


You have just two and a bit weeks left to get your January page challenge to me in order for you to win a month's worth of free tuition. Make a version of this page and get it to me by the end of January.


1.     Use two plain card stock for the background and two sheets of a muted patterned paper for the top layer.
2.     On the back of the patterned paper draw a pencil line from corner to corner. Cut to form 8 triangles.
3.     Distress all the edges of the triangles using an edge scraper or just open a pair of scissors and scrape the edge of the paper in the corner of the open blades.
4.     Ink all the edges thoroughly.
5.     Stick the triangles onto the background card stock using double sided tape.
6.     Sand the edges of the photos and then mat them. The journaling cards can be replaced with cropped photos.
7.     Stick photos to the page using double sided tape.
8.     Freehand prick holes along the rough edges of the triangles. Don’t use a ruler because that will make the stitching too straight. Only prick holes around each triangle where they are not covered by photos or cards to save you doing extra stitching.
9.     Hand stitch (using a back stitch and a thickish thread) around all the triangles.
10.   Once hand stitching is complete, add a brad to each of the outer corners (16 in total).
11.   Add embellishments such as buttons, washers, tabs, brads, paper clips, lettering, little words or anything that suits the theme of your photos, as well as a title and journaling.


NOTE: The Prize cannot be converted into a cash payout. The Prize is not transferable to another month; it must be claimed in February. The Prize does not include products, kits or the Mini box album, but does include adhesives used in class. The completed page must be handed in to me by Thursday 31st January. There will only be one prize of one month’s free classes awarded. The number of classes that can be attended in February is unlimited. The winner is at my discretion and no correspondence will be entered into.

Get scrapping.


Thursday, January 3, 2013

10..9..8..7..6..5..4..3..2..1..

HAPPY NEW YEAR!

After a full year off from blogging I am back in the swing of things! 
  • I am still doing my newsletter called 'Scrapchat' once a month (now with a new look). 
  • Drop me an email if you would like to get onto my 'Scrapchat' mailing list. dps.ablubbe@global.co.za
  • I produce a 'Kit of the Month' every month. Once again, drop me an email if you would like to get onto the subscription list. I post them anywhere in South Africa for an extra R30 for postage and packaging (subject to change with Post Office rates.)
  • I teach classes in different time slots every day of the week, except Sundays. So you can find a time slot to suit your needs.  Every week there is a new theme so there is always something exciting to learn and look forward to.
  • Once a year I do special classes e.g. The Travel Special and Christmas in July.
  • Once a year I host, together with 6 other ladies, a large Woman's Day event called 'Scrapfest'. This a value for money day which should not be missed.
  • I also still have a few 'Expression' books left...the little green (English) and purple (Afrikaans) books with titles for scrapbooking.
  • And then there are free classes given away periodically for you to scrap with such as this sketch below: 

Why not make an album for 2013 using the above sketch. Make one double page per month.  Use the same layout of photos every month and colour in the relevant month's label. Number and label the photos in the top right hand corner.

I wish you all a happy, scrappy 2013

Adrienne

Wednesday, November 30, 2011

Make your own Christmas Crackers this year

This year I am not buying Christmas crackers because they are so expensive. So join me in making your own crackers.
Print a copy of the Christmas cracker template or draw up your own. You can make it larger or smaller depending on the size you would like to make. Cut out the template using a craft knife, especially the central holes.

Trace it onto the back of single or double sided Christmas scrapbooking paper. Cut it out and score and fold all the score lines.
Punch a decorative edge on either end.
Cut a piece of tissue paper just a little smaller than the decorative paper.
Lay the decorative paper face down and on top of that the tissue paper. (This helps to prevent the contents of the cracker from falling out.) In it place your gift, a cracker bang and a message.
Roll up the tissue paper first and then the decorative paper to form a triangular shape. Stick the decorative paper together with a little double sided tape.
Tie two ribbon bows to close off both ends.
Stick a gift tag or a left over photo in the centre of the cracker. You can also decorate the cracker further.
Happy Christmas.
Adrienne

Tuesday, November 8, 2011

IN THE LAST THREE MONTHS....


We started off by going to see the whales in Hermanus...
then the next weekend...myself and a group of other teachers, hosted 150 ladies at the The Scrapfest celebrating the four seasons ... Great success...
The next weekend Bev and I were off to Phoenix, Arizona where we....visited the Bazzill warehouse....
went shopping at Michaels ....
Did the Creative Escape Convention ....
where we met Mr. Bazzill... and took classes with Ali Edwards...
and Heidi Swapp...amongst others...
Survived the 45°C heat with a little help .....
then went off to California...
to visit my sister and her family...
went to see the Pandas at the San Diego Zoo....amongst other things
....flew back home ....
and the next weekend attended the SA Scrapbook Convention...
Jet lag............................................:(
Then flew to Eshowe to teach a weekend crop for the scrapping ladies from Scrapbook Avenue.....back to Jhb.....
and then this past weekend have spent the most amazing time in Mapungubwe National Park on the Limpopo River where 3 countries meet - South Africa, Zimbabwe and Botswana...
and now I have some photos to scrap...
...and then some!
What a ride it has been.
Thanks for catching up.
Adrienne

Tuesday, August 2, 2011

Scrapfest Four Seasons

I have always had a thing about the four seasons...why I don't know??


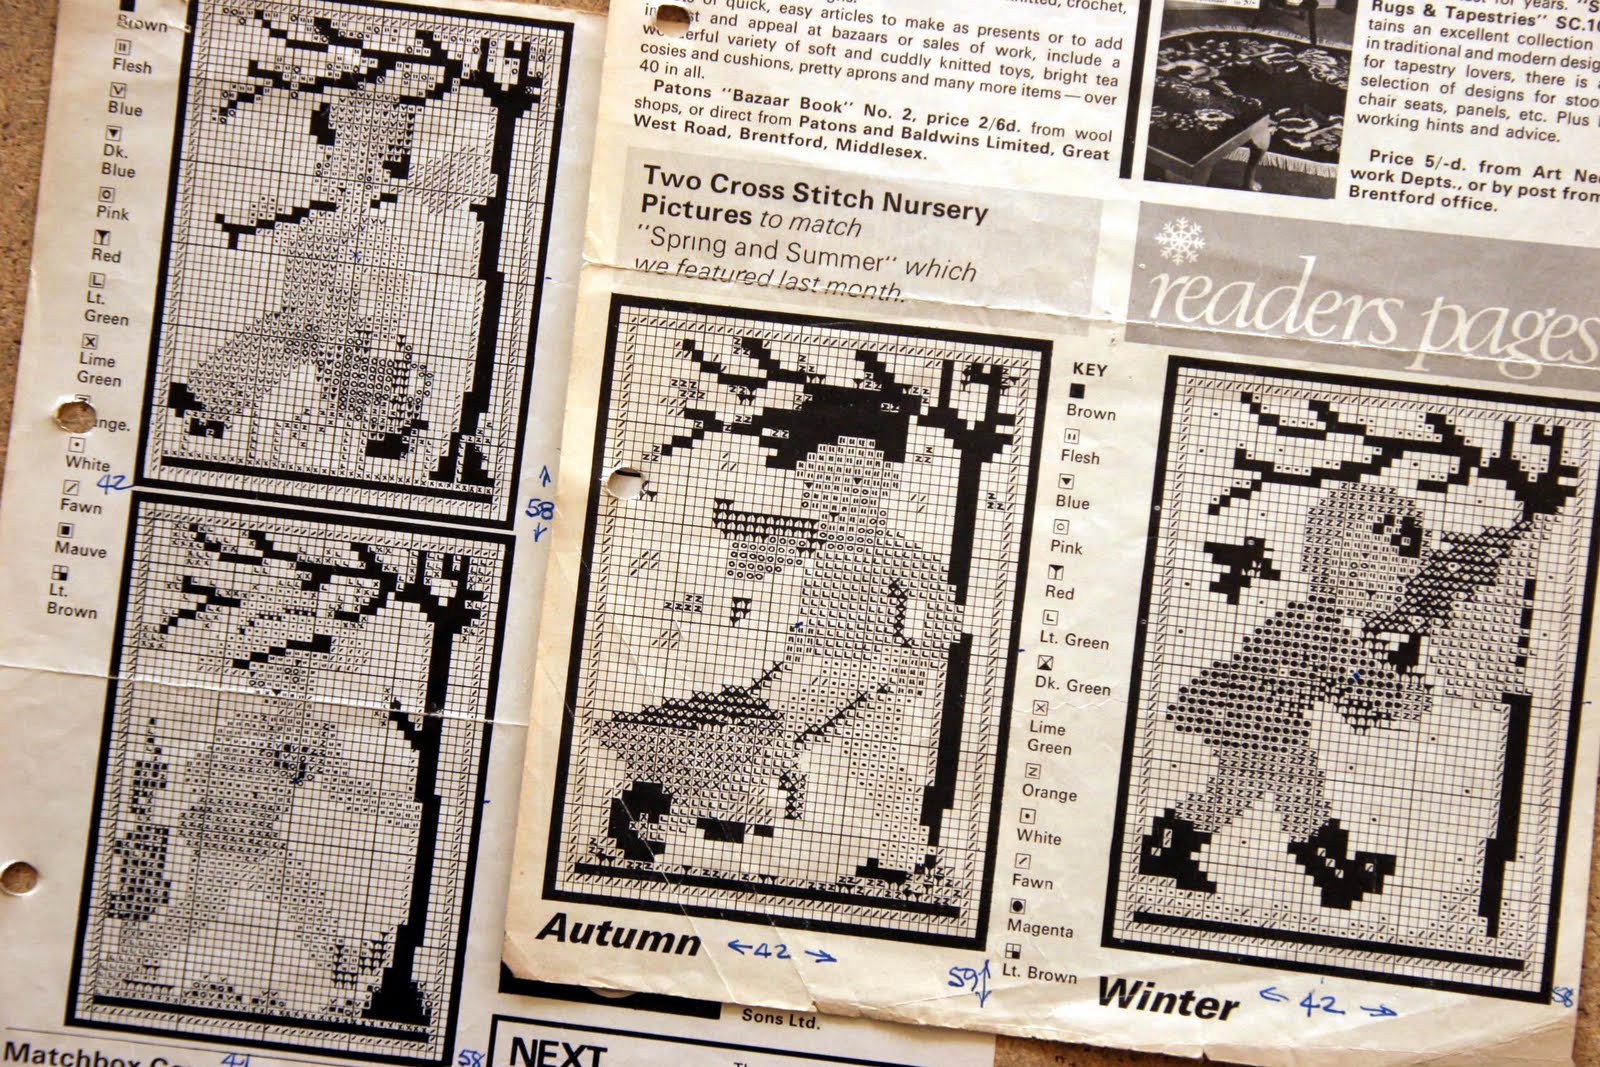
It started off with this little cross stitch pattern which I found in one of my mother's Woman's Weekly Magazines from the 1960s. I embroidered this for a God Child in 1981.


When I started scrapping in 1999 this page was in the first album that I made

and was published in Creating Keepsakes.


Then in 2002 we travelled to Yosemite and I made this page about the
four seasons of Yosemite and it is still one of my all time favourite pages.


More recently I made a mini album about myself titled 'A Woman for all Seasons' which was part of the Imagine Magazine Covergirl Competition. This little album got me a first place!


And this year in 2011 the theme for the SCRAPFEST is THE FOUR SEASONS.


For those of you who do not have all the information required here we go:

THIS EVENT IS SOLD OUT!
NO ENTRY WITHOUT YOUR PRE-PAID TICKET


DATE: Saturday, 13th August 2011
VENUE: Edenglen High School, Steyn Ave, Edenglen, Edenvale
(Safe parking on the property)
PRICE: R450.00
TIME: 09h00 until 16h30

This amazing price includes the kits for
FOUR SEASONAL DOUBLE PAGES,
lunch, teas, goody bag and prizes.
Cool drinks and sweets for sale

PHOTO REQUIREMENTS:
All photos quoted are jumbo size: 10 x 15cm unless specified

WINTER:
Colours: Grey and white
Photos: 1 Vertical and 4 horizontal

SPRING:
Colours: Green, mauve, yellow, pink or blue
backgrounds (only one of the above)
Photos: 6 vertical photos 5 x 15cm
2 horizontal
2 cropped to 10 x 10 cm

SUMMER:
Colours: Yellow, orange, red and lime
Photos: 5 horizontal

AUTUMN:
Colours: Khaki, brown and sunflower yellow
Photos: 5 vertical and 1 horizontal


SUPPLIES REQUIRED:
Cutting mat, ruler and craft knife
Pair of scissors
Pencil and eraser
Glue dots
Foam squares
Double sided tape
Gel glue eg. Glossy Accents, Tombo liquid glue
Brad hole punch and pad
Large eyelet hole maker and setter/hammer
Black thin pen
Black permanent marker
Stapler
Bone folder
Small paintbrush
Small container for water
Inks: Autumn - Dark brown
Spring: Dark green and a selection of pink, lime green, mauve, blue or yellow

REMEMBER TO DRESS WARMLY AND BRING A BLANKET FOR YOUR LEGS.

IT CAN BE VERY COLD IN THE HALL .

See you on the 13th
Adrienne